
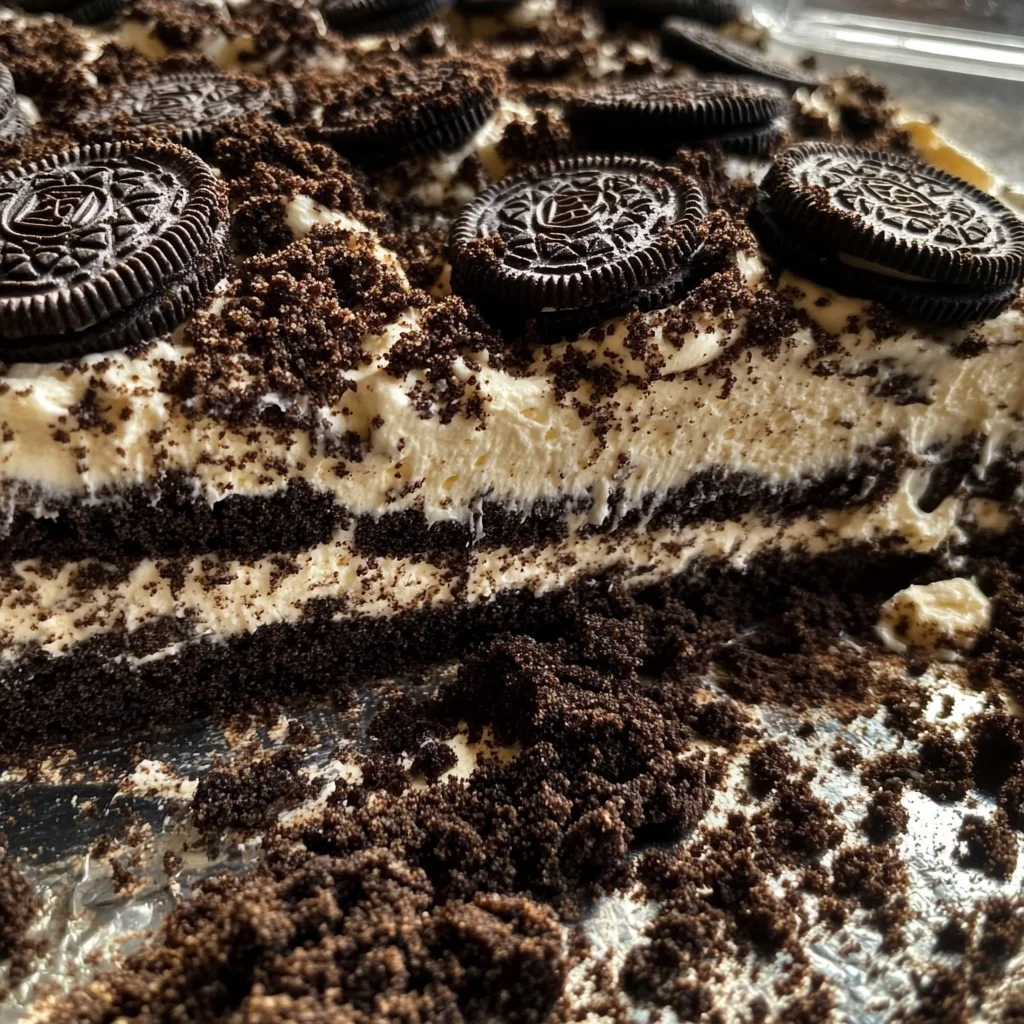
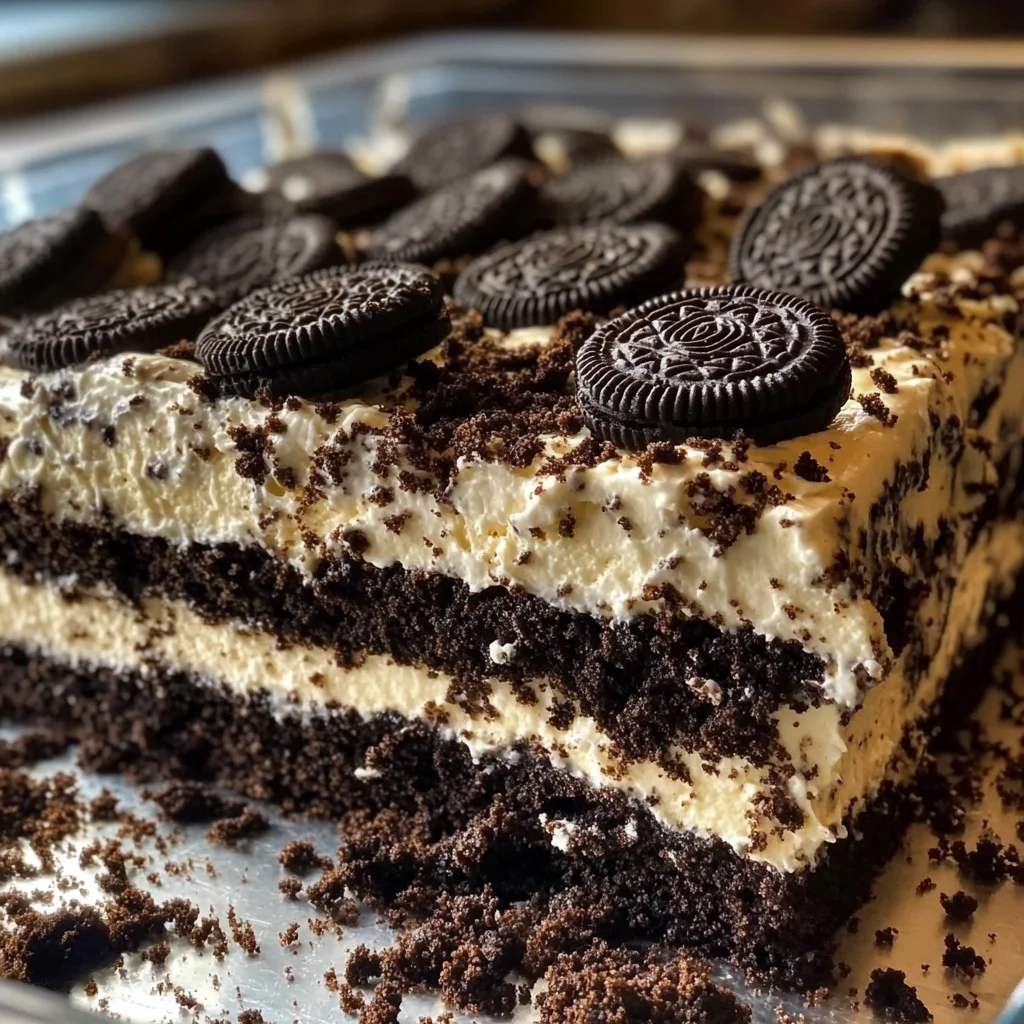
I’ve enjoyed making desserts that are quick and don’t require baking, especially during the warmer months. One standout recipe is the Ultimate No-Bake Oreo Dirt Cake. After trying several variations, I found the balance that keeps this dessert creamy and flavorful without being overly sweet. In this article, you’ll find all the details to create a delightful layered treat perfect for gatherings or just a night in.
Why You’ll Love This Recipe
- Rich chocolate flavor — The combination of Oreo cookies and chocolate pudding creates a satisfying chocolate experience.
- Creamy texture — The cream cheese and whipped topping blend together for a smooth filling that contrasts beautifully with crunchy cookie layers.
- No baking required — Save your oven for dinner; this dessert sets in the fridge, making it effortless to prepare.
- Perfect for gatherings — This cake serves a crowd and looks impressive when layered in a trifle dish or individual cups.
- Customizable decorations — Use gummy candies for an extra touch, making it fun for kids or themed parties.
Ingredients You’ll Need
Main Ingredients:
– Oreo cookies — 1 package (14.3 ounces) adds crunch and rich chocolate flavor.
– Cream cheese — 1 package (8 ounces), softened creates a creamy base for filling.
– Unsalted butter — 1 cup, softened helps bind the filling and adds richness.
– Powdered sugar — 1 cup sweetens the cream cheese mixture smoothly without grittiness.
– Whipped topping — 1 container (12 ounces), thawed gives lightness to the overall dessert.
– Chocolate pudding mix — 2 packages (3.9 ounces each) provides depth of flavor and thickness.
– Cold milk — 3 cups help activate the pudding mix for proper consistency.
– Pectin-based gummy candies (optional) — Fun decorations that add color and whimsy.
Smart Substitutions:
- Instead of cream cheese: Use mascarpone cheese — it results in an even richer filling with a slightly different flavor profile.
- Instead of powdered sugar: Granulated sugar can work if blended well; just be aware it may not dissolve as completely, leading to slight graininess.
Pro Tip: Always make sure your cream cheese and butter are at room temperature before mixing. This ensures they blend smoothly without lumps.
How to Make Ultimate No-Bake Oreo Dirt Cake
Quick Prep Checklist:
* Crush all Oreo cookies into fine crumbs.
* Prepare your creamy filling by combining cream cheese and butter first.
Step 1: Crush the Oreos
Start by crushing all but one cup of Oreo cookies using a food processor or by placing them in a sealed bag and using a rolling pin. You want fine crumbs that resemble sand, which will form both layers of your cake.
Tip: If using a bag, be gentle while rolling to avoid tearing it open.
Step 2: Mix Cream Cheese & Butter
In a large bowl, beat together your softened cream cheese and unsalted butter until smooth. This should take about two minutes on medium speed with an electric mixer.
Watch For: A creamy mixture with no lumps is what you’re aiming for before adding any sugar.
Step 3: Add Sugar & Fold in Topping
Gradually add powdered sugar while mixing until fully combined. Then gently fold in the thawed whipped topping until everything is uniform without overmixing.
You’ll Know It’s Ready When: The mixture is consistently smooth with no streaks of white remaining from the whipped topping.
Step 4: Prepare Chocolate Pudding
In another bowl, whisk together instant chocolate pudding mix with cold milk for about two minutes until it starts thickening up noticeably. It shouldn’t be too runny; you want it to hold its shape when added to the layers.
If it’s too thin after whisking, let it sit for another minute so it can thicken further.
Step 5: Layer & Chill
In your chosen dish, start layering by spreading half of your crushed Oreos at the bottom. Add half of your creamy filling next, then repeat these layers again—Oreos followed by filling—until you finish them off. Cover tightly with plastic wrap and chill in the refrigerator for at least four hours or overnight if possible for best results!
Before serving, sprinkle reserved Oreos on top to mimic dirt and add gummy candies if desired.
✅ Perfect Results Checklist:
* Each layer should be distinct yet cohesive when served.
* The texture should have both crunch from Oreos and smoothness from the creamy filling.
* You’ll know it’s ready when it holds its shape after slicing into squares or scooping out servings.
Expert Tips & Variations
3 Pro Tips:
* Chill longer if possible: Allowing more time in the refrigerator ensures better set layers which makes cutting easier later on.
* Use individual cups: For easy serving at parties, layer ingredients in disposable cups instead; they look cute too!
* Adjust sweetness levels: Taste your cream mixture; if needed, adjust sugar based on preference before folding in whipped topping.
3 Variations to Try:
* Peanut Butter Addition: Mix in some peanut butter into your cream mixture for added flavor; this works great with chocolate!
* Mint Chocolate Version: Substitute some crushed mint Oreos instead of regular ones—perfectly refreshing!
* Add Nuts: Sprinkle chopped nuts like walnuts or pecans between layers for extra crunch!
Common Mistakes to Avoid
Mistake #1: Overmixing Filling
I learned the hard way that overmixing leads to air bubbles forming in your filling which isn’t ideal when setting up layers. This happens because whipping air into mixtures causes them to expand but not settle well later on. To fix this issue, fold ingredients gently rather than beating them quickly once combined.
Mistake #2: Not Crushing Oreos Enough
Most home bakers miss this crucial step resulting in large chunks remaining throughout their dirt cake rather than even crumbs throughout each layer—it doesn’t look appealing! The uneven pieces won’t adhere properly either due to lack of cohesion once layered up too thinly across surfaces below them either way! Just keep at those cookie chunks till they’re fine resembling sand-like granules!
Mistake #3: Skipping Chill Time
Many underestimate how important chilling time is; skipping means risking soft layers collapsing upon cutting—and nobody wants that! When placed directly into room temp environments right after assembly without allowing enough cooling down first due simply being impatient about eating—what’s supposed end product becomes messy! Instead ensure adequate waiting period exists before serving up slices!
Storage & Reheating
Room Temperature: It’s best not left out long as warmth could affect texture negatively over time despite being fun initially served chilled preferably overall here!
Refrigerator: Store leftovers covered tightly—the cake lasts around five days before becoming stale inside container quite rapidly unfortunately if left uncovered too long directly exposed outside air circulation really more likely here overall!
Freezer: Wrap tightly with plastic wrap followed by aluminum foil—this keeps moisture locked away effectively within freezer environment lasting up three months ideally untouched!
Reheating:
* Oven: Not recommended since already prepped fully cold state mainly though could pop warmed through low heat lower temp option if necessary still needing careful attention avoiding burning easily thus better serve fresh chilled always generally preferred ways best!
Final Thoughts
This recipe offers everything you need—a simple yet delicious dessert everyone will love digging into after dinner or anytime really! Each layer complements another perfectly creating something special worth coming back again anytime craving satisfied fully fulfilled completely now every single bite enjoyed here definitely guaranteed success ultimately achieved hands-on effort put forth made worthwhile completely enjoyed ultimately tasting fantastic!
Loved this recipe? Leave a comment below—I read every one! Rate it ⭐⭐⭐⭐⭐ and share it with a friend who’d love it.

Ultimate No-Bake Oreo Dirt Cake
Indulge in the Ultimate No-Bake Oreo Dirt Cake, a delightful treat that’s creamy, rich, and bursting with chocolate flavor. Each layer blends crunchy Oreo crumbs with a smooth filling that melts in your mouth, making it impossible to resist. Perfect for gatherings or cozy nights at home, this dessert can be customized with fun toppings like colorful gummy candies for added whimsy.
- Total Time: 30 minutes
- Yield: 12 servings 1x
Ingredients
- 1 package Oreo cookies (14.3 ounces)
- 1 package cream cheese (8 ounces), softened
- 1 cup unsalted butter, softened
- 1 cup powdered sugar
- 1 container whipped topping (12 ounces), thawed
- 2 packages chocolate pudding mix (3.9 ounces each)
- 3 cups cold milk
- Pectin-based gummy candies (optional)
Instructions
- Crush all but one cup of the Oreo cookies into fine crumbs using a food processor or a rolling pin in a sealed bag until they resemble sand.
- In a large bowl, beat the softened cream cheese and unsalted butter together until smooth and creamy, which should take about two minutes.
- Gradually add the powdered sugar while mixing until fully combined, then gently fold in the thawed whipped topping until there are no streaks of white remaining.
- In another bowl, whisk the instant chocolate pudding mix with cold milk for about two minutes until thickened; it should hold its shape when added to layers.
- Begin layering in your chosen dish by spreading half of the crushed Oreos at the bottom, followed by half of the creamy filling; repeat these layers and chill covered in the refrigerator for at least four hours before serving.
- Prep Time: 30 minutes
- Cook Time: 0 minutes
- Category: Dessert
- Method: No Baking
- Cuisine: American
Nutrition
- Serving Size: 1 slice (100g)
- Calories: 320
- Sugar: 15g
- Sodium: 250mg
- Fat: 20g
- Saturated Fat: 10g
- Unsaturated Fat: 8g
- Trans Fat: 0g
- Carbohydrates: 35g
- Fiber: 2g
- Protein: 4g
- Cholesterol: 30mg