
I’ve made a lot of cheesecakes over the years, but there’s something special about a no-bake version. The ease of preparation without an oven makes it a go-to for gatherings and celebrations. After testing various methods, I found the perfect balance of creaminess and flavor that everyone loves. This article will guide you step by step through making this delightful no-bake cheesecake.
Why You’ll Love This Recipe
- Rich Creamy Texture — The combination of whipped cream and cream cheese creates a velvety filling that’s smooth with every slice.
- No Baking Required — You can whip this up quickly without waiting for an oven, saving time and effort on busy days.
- Customizable Toppings — Top it with fresh berries or chocolate shavings to add color and flavor, making each serving unique.
- Perfect for Any Occasion — Whether it’s a birthday party or a simple family dinner, this dessert fits right in.
- Easily Scaled Up or Down — Adjust the recipe for larger gatherings or smaller get-togethers without losing quality.
Ingredients You’ll Need
Main Ingredients:
– 1 package cream cheese, softened to room temperature (Use room temperature cream cheese for a smooth mixture.)
– 1/2 cup granulated sugar
– 1 cup heavy whipping cream, cold (Chill the bowl and mixer for best results.)
– 1 9-inch prepared graham cracker crust (Store-bought or homemade.)
– 1 teaspoon pure vanilla extract
– 1/4 teaspoon salt
Smart Substitutions:
- Instead of heavy whipping cream: Use coconut cream — this will give your filling a subtle coconut flavor while keeping it dairy-free.
- Instead of graham cracker crust: Use Oreo crumbs — they add a chocolatey twist that complements the creamy filling well.
- Instead of granulated sugar: Try powdered sugar — it dissolves more easily in the mixture.
Pro Tip: Always chill your mixing bowl and beaters before whipping the cream. This helps achieve stiff peaks faster.
How to Make No-Bake Cheesecake
Quick Prep Checklist:
* Soften your cream cheese ahead of time.
* Chill your mixing bowl and beaters in the fridge for about 10 minutes.
Step 1: Beat the Cream Cheese
In a large bowl, beat the softened cream cheese and granulated sugar together using an electric mixer on medium speed until completely smooth. This should take about 2–3 minutes.
Tip: Make sure there are no lumps; otherwise, you’ll end up with a grainy texture in your filling.
Step 2: Add Flavorings
Scrape down the sides of the bowl, then mix in vanilla extract and salt at low speed until just combined.
Watch For: The mixture should look uniform without any visible specks of sugar or salt.
Step 3: Whip the Heavy Cream
In another chilled bowl, whip the heavy cream until stiff peaks form. It takes about 3–5 minutes on medium-high speed.
You’ll Know It’s Ready When: The whipped cream holds its shape when you lift your beater out.
Step 4: Combine Mixtures
Gently fold the whipped cream into the cream cheese mixture using a spatula until there are no streaks left. Be careful not to overmix as it can deflate your filling.
The goal is to maintain that airy texture from whipping.
Step 5: Pour into Crust
Pour your creamy filling into the prepared graham cracker crust, smoothing it evenly across the top with a spatula.
Cover tightly with plastic wrap and refrigerate for at least four hours, ideally overnight to set properly.
✅ Perfect Results Checklist:
* Smooth top layer
* Firm texture when slicing
* Mild sweet aroma when serving
Expert Tips & Variations
3 Pro Tips:
* Use Room Temperature Ingredients: Letting your ingredients sit out before starting helps them mix together smoothly without lumps.
* Do Not Overwhip Cream: If you whip beyond stiff peaks, you’ll risk turning it into butter instead of creating lightness in your filling.
* Chill Your Crust: Refrigerating your crust briefly before adding the filling helps maintain its shape during slicing.
3 Variations to Try:
* Lemon No-Bake Cheesecake: Add lemon zest and replace some sugar with lemon juice for a refreshing citrus twist.
* Chocolate Swirl Variation: Gently fold melted chocolate into half of your filling before pouring it into the crust for a striped effect.
* Fruit-Topped Cheesecake: Layer fresh fruits like strawberries or blueberries over top after chilling for added freshness and color.
Common Mistakes to Avoid
Mistake #1: Lumpy Filling
I learned the hard way that if you don’t soften your cream cheese enough, lumps can form in your batter. This happens because cold cream cheese doesn’t blend smoothly with sugar. To avoid this, always let it sit at room temperature until fully soft before mixing.
Mistake #2: Overmixing Whipped Cream
Most home bakers miss this important step and end up with butter instead of fluffy whipped cream. Overmixing causes air bubbles to break down excessively leading to curdled textures. Stop mixing as soon as stiff peaks form; it’s okay if it’s slightly soft still.
Mistake #3: Not Allowing Enough Chill Time
I’ve seen desserts collapse because they were cut too early after preparation; they need time to set properly. Cutting too soon results in runny slices that won’t hold their shape well. Ensure at least four hours in refrigeration—overnight is best!
Storage & Reheating
Room Temperature: Keep it covered at room temperature for up to two hours while serving.
Refrigerator: Store leftovers covered in an airtight container; they’ll last about five days.
Freezer: Wrap tightly in plastic wrap then aluminum foil; freeze up to three months without losing quality during storage.
Reheating:
* Oven: There’s no need unless you’re using baked components; warm at low heat if needed briefly just to soften edges slightly.
- Microwave: Use medium power level heating individual slices for around 15 seconds; watch closely so they don’t melt away entirely.
Frequently Asked Questions
Can I use low-fat ingredients?
Yes! Low-fat versions work well here but may result in slight changes in texture—it’s still delicious!
How long does this keep?
Your batch stays fresh in an airtight container stored correctly; expect about five days maximum freshness after making it.
What’s better – store-bought crusts vs homemade?
Both work fine! Store-bought saves time while homemade allows customization on flavor strengths based on cookie types used—you choose!
Can I make mini cheesecakes instead?
Absolutely! Just fill muffin tins lined with cupcake liners instead—reduce chilling time as they set faster due to smaller portions!
Final Thoughts
If you’re craving something rich yet easy, this recipe delivers perfectly on all fronts every single time you make it. The creamy consistency pairs beautifully with whatever toppings you prefer!
Enjoy making this no-bake cheesecake soon! Feel free to comment below with any questions or share how yours turned out—I love hearing from everyone!

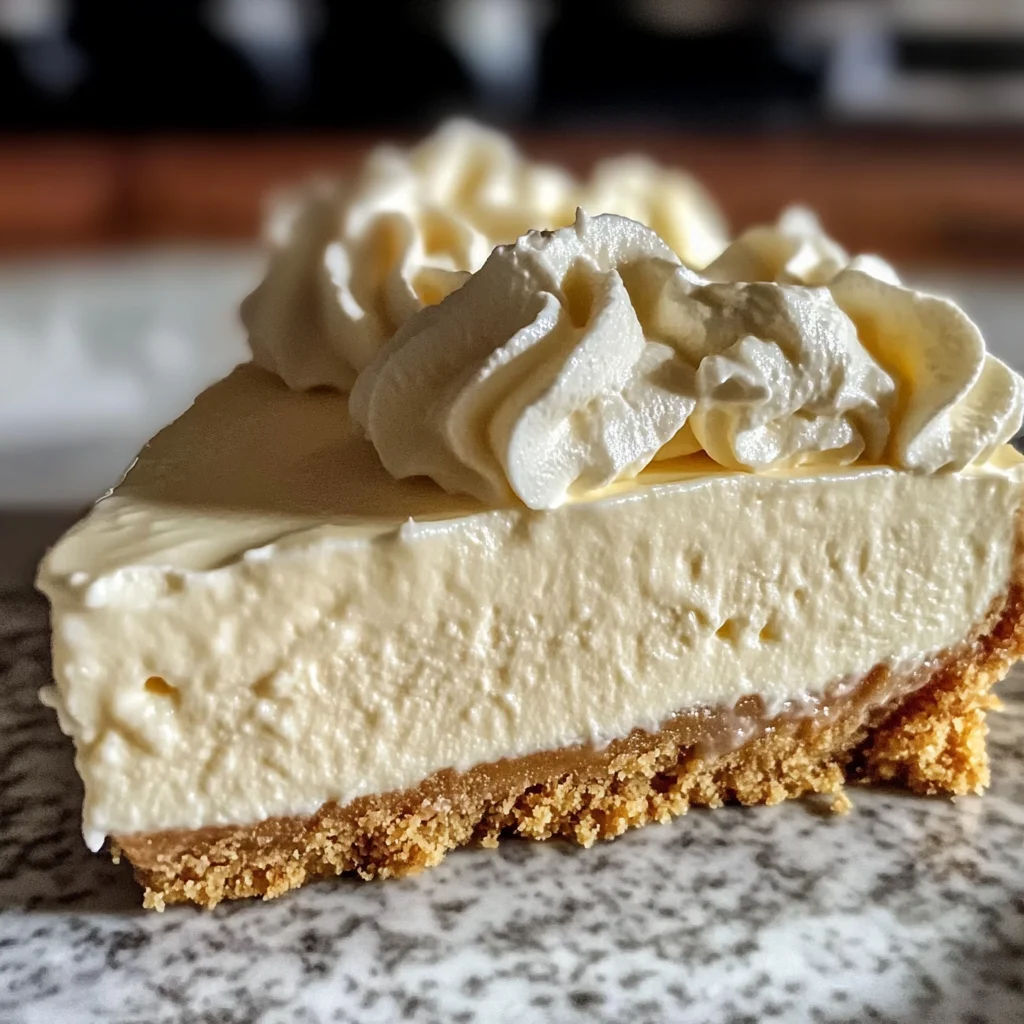
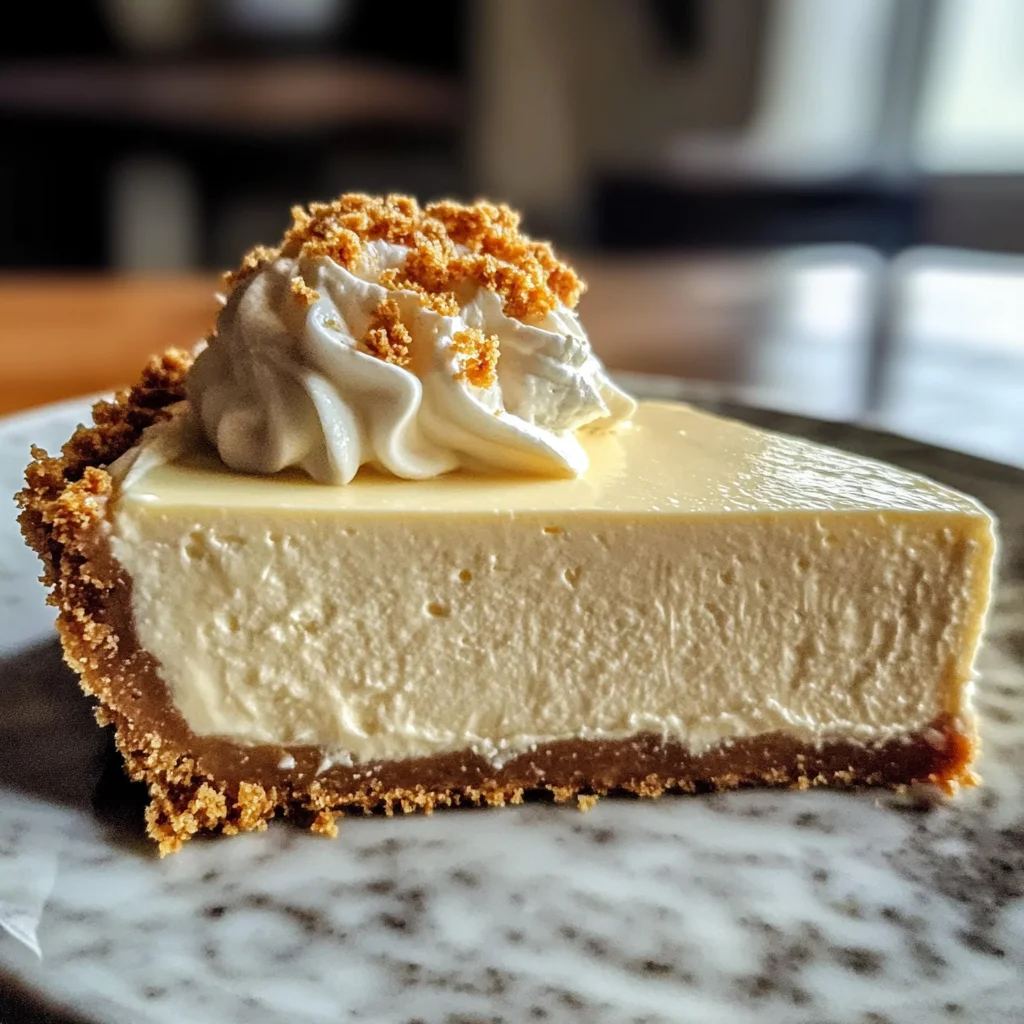
Ultimate Easy No-Bake Cheesecake
Indulge in the creamy richness of this no-bake cheesecake that melts in your mouth with every bite. The smooth filling, paired with a delightful crust, creates a dessert experience that’s both satisfying and refreshing. Perfect for any gathering, you can easily customize it with your favorite toppings like fresh fruit or chocolate shavings for an extra special touch.
- Total Time: 15 minutes
- Yield: 8 servings 1x
Ingredients
- 1 package cream cheese, softened to room temperature
- 1/2 cup granulated sugar
- 1 cup heavy whipping cream, cold
- 1 9-inch prepared graham cracker crust
- 1 teaspoon pure vanilla extract
- 1/4 teaspoon salt
Instructions
- In a large bowl, beat the softened cream cheese and granulated sugar together using an electric mixer on medium speed until completely smooth, about 2-3 minutes. The mixture should be free of lumps for a velvety texture.
- Scrape down the sides of the bowl and mix in vanilla extract and salt at low speed until just combined, creating a uniform mixture.
- In another chilled bowl, whip the heavy cream on medium-high speed until stiff peaks form, approximately 3-5 minutes. You'll know it's ready when the whipped cream holds its shape.
- Gently fold the whipped cream into the cream cheese mixture using a spatula until there are no streaks left, maintaining that airy texture.
- Pour the creamy filling into the prepared graham cracker crust, smoothing it across the top with a spatula. Cover tightly with plastic wrap and refrigerate for at least four hours or overnight to set properly.
- Prep Time: 15 minutes
- Cook Time: 0 minutes
- Category: Dessert
- Method: No-Bake
- Cuisine: American
Nutrition
- Serving Size: 1 slice (100g)
- Calories: 320
- Sugar: 17g
- Sodium: 210mg
- Fat: 23g
- Saturated Fat: 14g
- Unsaturated Fat: 7g
- Trans Fat: 0g
- Carbohydrates: 27g
- Fiber: 0g
- Protein: 4g
- Cholesterol: 70mg