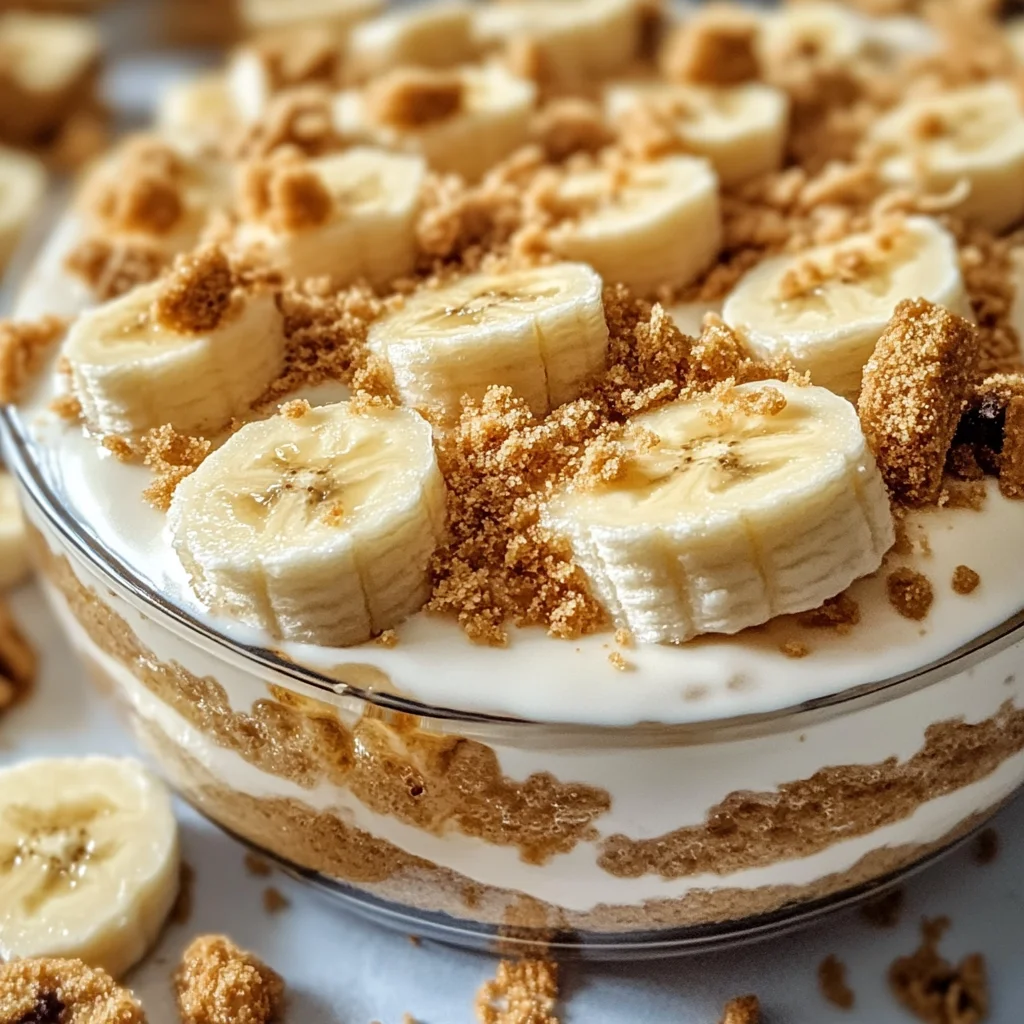
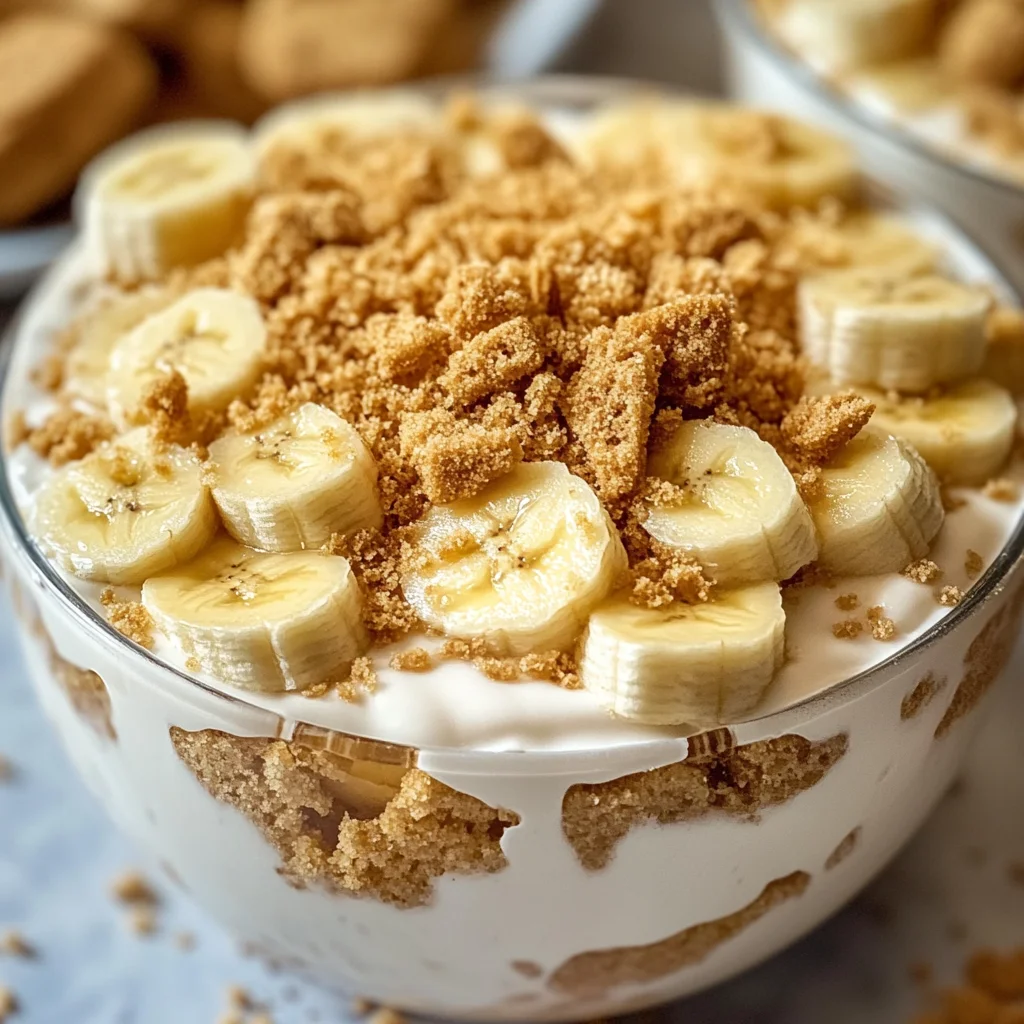
I’ve played around with many banana pudding recipes, but this one stands out for its delicious twist. Creamy Biscoff Banana Pudding: A No-Bake Delight to Savour combines classic flavors in a unique way. After several trials, I discovered the perfect balance between the bananas and Biscoff spread enhances texture and flavor without overpowering each other. In this article, you’ll find everything you need to recreate this delightful treat.
Why You’ll Love This Recipe
- Unique Flavor Combination — The blend of creamy vanilla pudding, ripe bananas, and Biscoff cookies creates a rich yet balanced taste.
- No-Bake Convenience — With minimal prep time, you can whip up this dessert in under 30 minutes.
- Layered Texture — The crunchy cookie layers contrast beautifully with the smooth pudding and soft banana slices.
- Versatile Serving Options — It’s easy to customize portions for gatherings or small family dinners.
- Make-Ahead Friendly — Prepare it a day in advance for optimal flavor melding, making it ready when you are.

Ingredients You’ll Need
Main Ingredients:
– 3 medium ripe bananas — Use firm ripe bananas for the best texture.
– 1 box instant vanilla pudding mix — Ensure it’s instant for the quickest preparation.
– 2 cups milk — Whole or low-fat milk works fine.
– 1 pack Biscoff cookies — Substitute with graham crackers or vanilla wafers if needed.
– 1 jar Biscoff spread — Can be swapped with cookie butter or a similar spread.
How to Make Creamy Biscoff Banana Pudding
- In a mixing bowl, combine the vanilla pudding mix and milk. Whisk until the mixture thickens and is smooth, about 2 minutes.
- Grab a serving dish and start layering! Begin with a layer of pudding at the bottom, then add sliced bananas and a generous sprinkling of crushed Biscoff cookies.
- Keep layering until you’ve used all your ingredients! Finish with a final layer of pudding on top, and sprinkle some cookie crumbs.
- Cover the dish and refrigerate for at least 30 minutes to allow the flavors to meld beautifully.
- Spoon the creamy Biscoff banana pudding into bowls and enjoy!
Notes
This creamy delight combines nostalgia with a modern twist, offering an enjoyable no-bake dessert experience. Consider adding a dollop of whipped cream on each serving for extra indulgence. This dessert is best made a day in advance to enhance flavors.
Smart Substitutions:
- Instead of instant vanilla pudding: Use chocolate or butterscotch flavor — it will change the overall taste profile while still being delicious.
- Instead of whole milk: Try almond milk or oat milk for a dairy-free option that works well too.
- Instead of Biscoff cookies: Use crushed Oreos for an entirely different flavor that still provides great texture.
Pro Tip: When selecting bananas, look for ones that are just turning yellow with some speckles; they will offer sweetness without being overly mushy.
How to Make Creamy Biscoff Banana Pudding: A No-Bake Delight to Savour
Quick Prep Checklist:
* Slice your bananas before starting layers to prevent browning too quickly.
* Crush your cookies in advance; this minimizes mess during assembly.
Step 1: Prepare Pudding
In a large mixing bowl, combine instant vanilla pudding mix and cold milk using a whisk. Mix until you achieve a thick consistency, which should take about two minutes.
Tip: Ensure you’re using cold milk as warm milk can affect how well your pudding sets.
Step 2: Start Layering
Begin layering by spreading some prepared pudding at the bottom of your serving dish. Follow that with evenly spaced banana slices topped lightly with crushed Biscoff cookies so every spoonful has these delicious bits included.
Watch For: The layers should be distinct—avoid mixing them too much as it spoils both presentation and texture.
Step 3: Complete Your Layers
Continue layering until all ingredients are used up; this usually takes three layers depending on your dish size. Remember to finish with pudding on top followed by cookie crumbs for garnish.
You’ll Know It’s Ready When: Each layer is visible through glass dishes, showcasing beautiful contrasts in color.
Step 4: Chill And Set
Cover your dish tightly with plastic wrap or foil before placing it in the refrigerator. Allow it to chill for at least 30 minutes; longer chilling improves flavor blending significantly while also thickening up slightly more as it sets.
Common mistakes here include not covering properly which leads to drying out—make sure it’s airtight!
Step 5: Serve And Enjoy!
After chilling, carefully remove from fridge and scoop portions into bowls as desired! Feel free to add whipped cream on top right before serving if you’re feeling fancy!
✅ Perfect Results Checklist:
* Visual cue: Layers should be clear without mixing together too much.
* Texture cue: Pudding should feel thick yet smooth against soft banana pieces when served.
* Aroma cue: You’ll get sweet hints from both ripe fruit and warm spices from your cookies.
Expert Tips & Variations
3 Pro Tips:
* Use Fresh Bananas: For optimal taste and texture; overripe bananas can make your dessert too mushy as they release excess moisture during chilling time.
* Chill Longer If Possible: For even better results let sit overnight; flavors meld together beautifully giving you richer taste overall!
* Crush Cookies Efficiently: Place them inside a resealable bag then crush using rolling pin—this method keeps crumbs contained!
3 Variations to Try:
* Nutty Twist: Add chopped nuts like walnuts or pecans between layers for added crunch!
* Chocolate Banana Delight: Replace some vanilla pudding with chocolate—an enticing combination everyone loves!
* Peanut Butter Addition: Swirl peanut butter into the top layer—it adds rich creaminess that pairs perfectly!
Common Mistakes to Avoid
Mistake #1: Using Overripe Bananas
When using very soft bananas, you’ll notice they turn mushy quickly after cutting which ruins presentation. This happens because overly ripe fruit releases excess moisture into your layers leading them soggy instead of layered nicely! Always aim for firm-ripe bananas; they’ll hold their shape better.
Mistake #2: Not Whisking Enough
If you don’t whisk thoroughly enough during preparation step one, lumps may form as it sets causing inconsistent texture throughout servings later on! This occurs since dry powder clumps can’t dissolve fully if not blended enough initially! Be sure you’ve mixed completely before layering begins!
Mistake #3: Skipping Fridge Time
If you skip chilling time altogether thinking it’ll save effort—you’ll end up disappointed when trying serve later as everything won’t hold shape nicely! Without proper setting time textures remain off-balance—be patient! At least thirty minutes makes all difference here!
Storage & Reheating
Room Temperature: It’s best served chilled; keep it refrigerated until ready to serve.
Refrigerator: Store leftovers tightly covered in plastic wrap for up to three days but we recommend enjoying within two days maximum freshness-wise!
Freezer: If freezing is necessary go ahead—wrap tightly using freezer-safe containers/pouches lasting about one month max before quality declines noticeably over time though!
Reheating:
– OVEN: Not advised due mainly dairy content affects structure negatively when reheated so rather only serve cold straight from fridge!
– MICROWAVE: Lowest power level (30%) heating short intervals letting sit pause between checks ensures even warming without curdling effect happening either way if accidental overheating occurs!
– STOVETOP: Using non-stick pan over low heat allows gentle warming too just avoid direct flames—lid helps retain moisture while keeping things consistent across batch evenly heated through!
Frequently Asked Questions
What can I do if my banana slices brown?
To prevent browning, consider tossing them lightly in lemon juice before layering them in your recipe. The acidity slows down oxidation effectively keeping those bright colors intact longer while maintaining fresh taste throughout each bite!
Can I make this recipe vegan?
Absolutely! Simply use plant-based alternatives such as almond milk instead of regular dairy plus ensure vegan versions exist available easily across markets today so finding suitable items won’t take long either way—have fun experimenting!
How long does this dessert last?
When stored correctly in an airtight container within refrigerator conditions remain good up-to-three days maximum although ideally consumed within two-days gives best possible outcome regarding freshness levels retained amongst various components present within dish itself too!
Can I use different flavored puddings?
Yes indeed! While vanilla pairs wonderfully here any flavor like chocolate would create unique variations worth exploring depending personal preference towards particular tastes enjoyed among family/friends—all combinations yield interesting results worth trying out down line eventually too remember variety spice life after all…
Final Thoughts
Now that you’ve seen how easy it is to make Creamy Biscoff Banana Pudding: A No-Bake Delight to Savour, there’s no reason not give this treat a go yourself! With its layered textures combined perfectly alongside familiar flavors—a hit guaranteed every single time served around gatherings especially during warmer seasons alike means smiles abound everywhere shared among loved ones gathered together enjoying old favorites reimagined anew alike each other’s company left behind memories formed through simple pleasures enjoyed daily often enough already truly matters most here ultimately !
Loved this recipe? Leave a comment below—I read every one! Rate it ⭐⭐⭐⭐⭐ and share it with someone who’d love it too!
easy desserts

Creamy Biscoff Banana Pudding
Indulge in the creamy, dreamy layers of this Biscoff Banana Pudding that brings together the sweetness of ripe bananas and the rich, spiced flavor of Biscoff spread. As you take a spoonful, enjoy the delightful contrast between the smooth pudding and crunchy cookie layers, all coming together to create a dessert that’s both nostalgic and refreshing. Perfect for gatherings or a sweet treat at home, this no-bake delight can easily be customized with your favorite flavors.
- Total Time: 15 minutes
- Yield: 6 servings 1x
Ingredients
- 3 medium ripe bananas
- 1 box instant vanilla pudding mix
- 2 cups milk
- 1 pack Biscoff cookies
- 1 jar Biscoff spread
Instructions
- In a mixing bowl, combine the instant vanilla pudding mix and milk. Whisk until the mixture thickens and is smooth, about 2 minutes.
- Begin layering in a serving dish with a layer of pudding at the bottom. Add sliced bananas followed by crushed Biscoff cookies for texture.
- Continue layering until all ingredients are used, finishing with pudding on top and sprinkling cookie crumbs for garnish.
- Cover the dish and refrigerate for at least 30 minutes to allow flavors to meld and the texture to set.
- Serve chilled by spooning portions into bowls and enjoy!
- Prep Time: 15 minutes
- Cook Time: 0 minutes
- Category: Dessert
- Method: No-Bake
- Cuisine: American
Nutrition
- Serving Size: 1 cup (245g)
- Calories: 320
- Sugar: 26g
- Sodium: 240mg
- Fat: 10g
- Saturated Fat: 5g
- Unsaturated Fat: 4g
- Trans Fat: 0g
- Carbohydrates: 52g
- Fiber: 3g
- Protein: 4g
- Cholesterol: 10mg