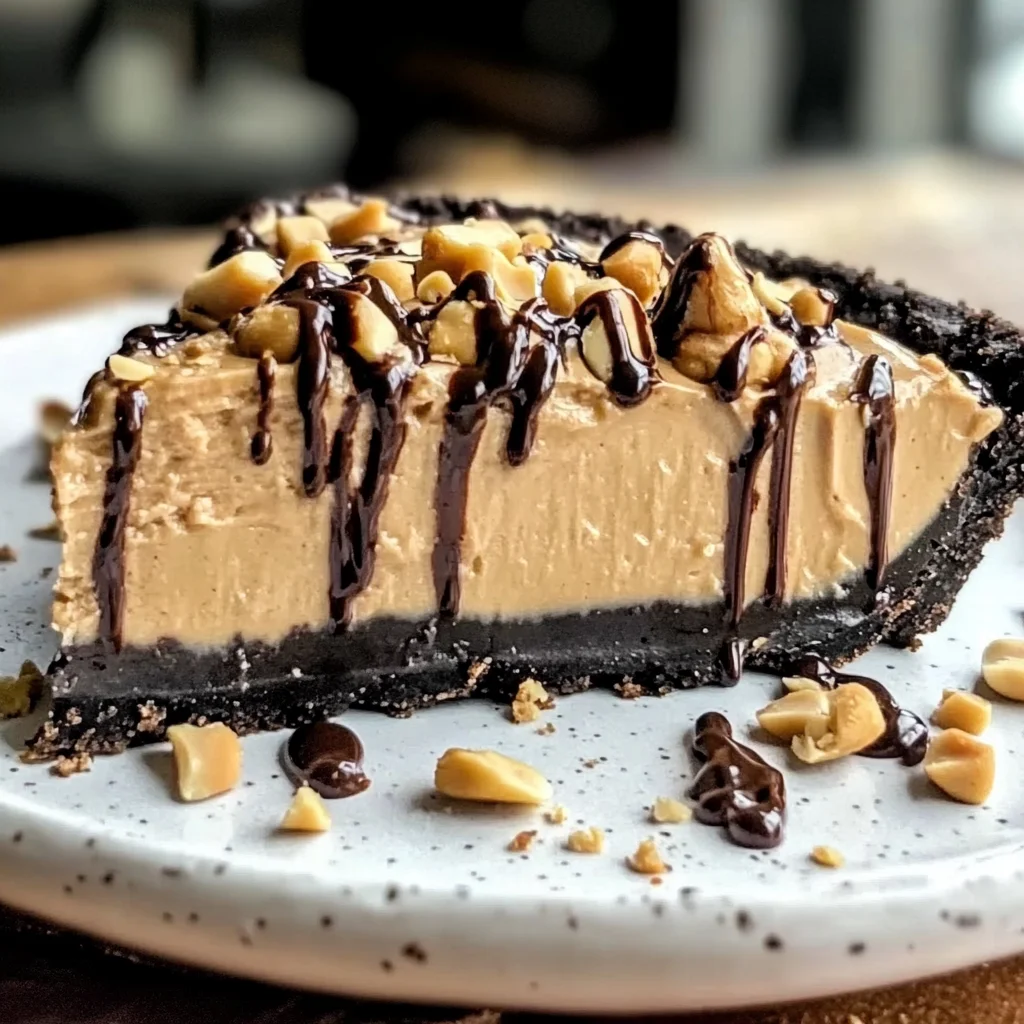
I’ve enjoyed making various desserts over the years, but this Easy Peanut Butter Pie Recipe stands out for its simplicity and rich flavor. It’s a no-bake dessert that combines a chocolatey Oreo crust with a creamy peanut butter filling. After a few tries, I found that chilling the pie properly really enhances the flavors and texture. In this article, I’ll walk you through each step to create your own delicious pie with minimal effort.
Why You’ll Love This Recipe
- Quick to Prepare — You can whip up this dessert in under 30 minutes, making it perfect for last-minute gatherings.
- No Baking Required — Since it’s a no-bake recipe, there’s no need to turn on the oven, which is great for warm days.
- Rich Flavor Combination — The blend of creamy peanut butter with a chocolate Oreo crust creates a balanced taste that pleases everyone.
- Customizable Toppings — You can easily add toppings like chopped peanuts or chocolate syrup to make it your own.
- Perfect for Any Occasion — Whether it’s a birthday party or just an evening treat, this pie fits right in.

Ingredients You’ll Need
Main Ingredients: Easy Peanut Butter Pie Recipe
– 24 Oreos (regular) — These form the base of your pie with their rich chocolate flavor.
– 5 tablespoons unsalted butter (melted) — Helps bind the cookie crumbs together for a sturdy crust.
– 1 cup whipping cream — Adds lightness and fluffiness to the filling.
– 8 ounces cream cheese (softened) — Provides creaminess and richness to balance the peanut butter.
– ½ cup creamy peanut butter — This is where all that delicious nutty flavor comes from.
– ½ cup powdered sugar — Sweetens the filling without adding graininess.
– 1 teaspoon vanilla extract — Enhances the overall flavor profile.
Smart Substitutions:
- Instead of Oreos: Graham crackers or any chocolate cookie can work, though you’ll miss out on that signature Oreo taste.
- Instead of heavy cream: Use whipped topping for an even easier method; however, it may not be as rich in flavor.
Pro Tip: When crushing Oreos, use a food processor for finer crumbs. If you don’t have one, place them in a zip-top bag and crush them with a rolling pin.
How to Make Easy Peanut Butter Pie Recipe
Quick Prep Checklist:
* Gather all ingredients before starting to streamline your process.
* Make sure your cream cheese is softened; this will prevent lumps in your filling.
Step 1: Prepare the Crust
Start by greasing a 9-inch pie plate lightly. In a food processor, crush the Oreos until they resemble fine crumbs. Mix these crumbs with melted butter until well combined. Press the mixture firmly into the bottom and up the sides of your pie plate. Refrigerate for at least 30 minutes until set.
Tip: Ensure there are no large chunks in your crumb mixture; they can affect how well the crust holds together.
Step 2: Whip the Cream
In a mixing bowl, beat whipping cream with powdered sugar using an electric mixer until stiff peaks form. This will take about 3–4 minutes on medium-high speed. Once done, set it aside while you prepare the filling.
Watch For: The cream should hold peaks that stand straight up when you lift the whisk; if it looks soft, keep beating.
Step 3: Mix Filling Ingredients
In another bowl, combine softened cream cheese, peanut butter, powdered sugar, and vanilla extract. Beat until smooth and creamy—this should take around 2–3 minutes at medium speed. Gently fold in your whipped cream until everything is well blended but still airy.
You’ll Know It’s Ready When: The mixture is smooth with no lumps from either the cream cheese or peanut butter.
Step 4: Assemble Your Pie
Spoon your peanut butter filling into the chilled Oreo crust evenly using a spatula. Spread it out gently to avoid disturbing the crust below. If you want some extra crunch and decoration, sprinkle chopped peanuts on top before chilling again.
Avoid overfilling; leave some space at the top if you’re adding syrup later.
Step 5: Chill Before Serving
Cover your assembled pie with plastic wrap or foil and refrigerate for at least two hours or overnight if possible—this helps solidify everything nicely before slicing into pieces.
Check after two hours; if still jiggly in parts, let it chill longer until firm.
✅ Perfect Results Checklist:
* Firm but not hard crust
* Smooth and fluffy filling texture
* Chilled nicely so it cuts cleanly without falling apart
Expert Tips & Variations
3 Pro Tips:
* Chill Everything First: Chilling both your mixing bowl and beaters helps achieve better volume when whipping cream.
* Taste as You Go: Adjust sweetness by adding more powdered sugar if you’d like; just remember that refrigerating will slightly dull sweetness after chilling.
* Use Room Temperature Ingredients: Allowing ingredients like cream cheese to come to room temperature prevents lumps in your filling.
3 Variations to Try:
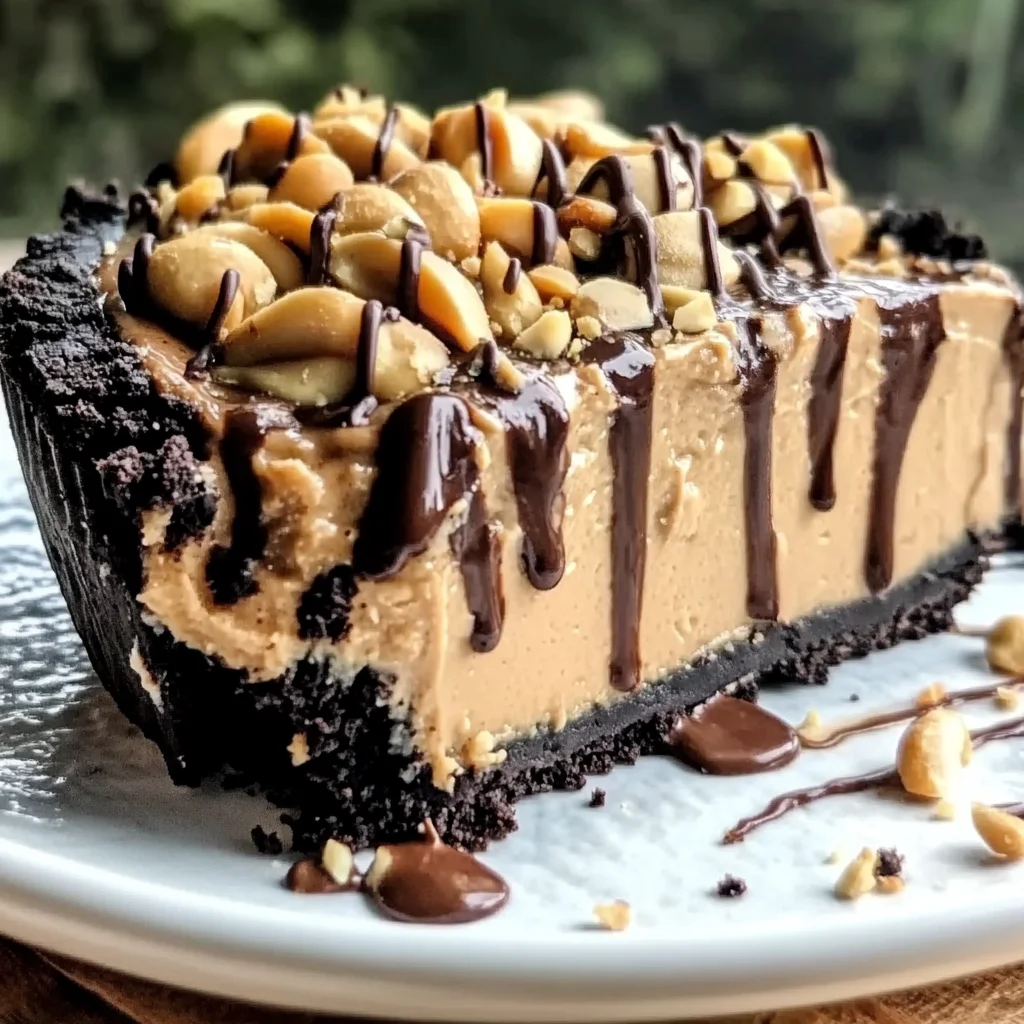
* Chocolate Drizzle Variation: Melt chocolate chips and drizzle over top just before serving for added richness.
* Nutty Twist Variation: Swap half of creamy peanut butter for crunchy peanut butter for more texture in every bite.
* Fruit Add-In Variation: Fold diced bananas into your filling for extra flavor—just be sure they’re fully ripe!
Common Mistakes to Avoid
Mistake #1: Lumpy Filling
I learned this lesson when my first batch had lumps throughout despite my efforts! This happens mainly because cold cream cheese doesn’t mix smoothly into other ingredients. To avoid this error, always ensure it’s softened completely at room temperature before mixing.
Mistake #2: Crust Falling Apart
The first time I sliced my pie, half of my crust crumbled away! A loose crumb mixture leads to an unstable base because there’s not enough binder from melted butter. To fix this issue next time, press down firmly when forming your crust so it binds better while chilling.
Mistake #3: Overwhipping Cream
I once ended up with sweetened butter instead of whipped cream! Overwhipped cream becomes grainy as fat separates from liquid due to too much air being incorporated. Monitor closely as you whip—you want stiff peaks rather than turning it buttery!
Storage & Reheating
Room Temperature: This pie shouldn’t sit out too long—keep it cool if you’re serving outside on hot days!
Refrigerator: Store leftovers covered tightly in plastic wrap or aluminum foil for up to five days while maintaining freshness.
Freezer: For longer storage time frame (up to three months), wrap slices tightly using freezer-safe materials like wax paper followed by foil layers ensuring protection from freezer burn.
Reheating:
* Oven: Not typically needed since served cold—however if preferred slightly warmer than fridge temp., preheat oven at 350°F just till chilled edges start softening (approx 10 mins).
* Microwave: Warm just briefly on low power setting (30 seconds) checking frequently so you don’t melt fillings!
Frequently Asked Questions
Can I use reduced-fat ingredients?
Yes! You can substitute reduced-fat options like lower-calorie whipped topping or light cream cheese without affecting taste too much—but expect some minor changes in texture as well.
What size pan should I use?
A standard 9-inch pie plate works best for this recipe—smaller pans might cause overflowing due increasing thickness while baking whereas larger ones leave less depth resulting flatter pies overall!
How do I know when it’s ready?
Your pie should be firm enough so slices hold their shape yet soft enough inside providing easy cutting through—if unsure about firmness after two hours check again periodically during chill time!
Can I make this ahead of time?
Absolutely! Making it one day ahead allows flavors more time meld together deeper creating richer taste experience enjoyed upon serving later!
Final Thoughts
This Easy Peanut Butter Pie Recipe is perfect when you’re craving something tasty yet simple to prepare without lots fuss involved upfront effort wise! Each slice brings smiles around any table where shared among friends or family alike—it truly satisfies those sweet tooth cravings without fail every single time served chilled beautifully!
Enjoy making this recipe yourself today—I’d love hearing feedback once done! Please leave me comments below sharing experiences gotten throughout preparation alongside rating ⭐⭐⭐⭐⭐ based upon satisfaction levels achieved finally!

Easy Peanut Butter Pie
Indulge in this Easy Peanut Butter Pie, a delightful no-bake dessert that combines a rich chocolate Oreo crust with a creamy peanut butter filling. As you slice into the pie, the smooth texture and irresistible aroma will captivate your senses. Each bite offers a perfect balance of sweetness and nuttiness, making it an instant favorite. Feel free to customize with toppings like chopped peanuts or a drizzle of chocolate syrup for an extra touch.
- Total Time: 30 minutes
- Yield: 8 servings 1x
Ingredients
- 24 Oreos (regular)
- 5 tablespoons unsalted butter (melted)
- 1 cup whipping cream
- 8 ounces cream cheese (softened)
- ½ cup creamy peanut butter
- ½ cup powdered sugar
- 1 teaspoon vanilla extract
Instructions
- Lightly grease a 9-inch pie plate. Crush the Oreos in a food processor until they resemble fine crumbs, then mix with melted butter until combined.
- Press the mixture firmly into the bottom and up the sides of the pie plate, then refrigerate for at least 30 minutes until set.
- In a mixing bowl, beat whipping cream with powdered sugar until stiff peaks form, which should take about 3–4 minutes.
- In another bowl, combine softened cream cheese, peanut butter, powdered sugar, and vanilla extract. Beat until smooth, then gently fold in whipped cream.
- Spoon the filling into the chilled crust evenly and optionally sprinkle chopped peanuts on top before chilling again for at least two hours.
- Prep Time: 30 minutes
- Cook Time: 0 minutes
- Category: Dessert
- Method: No-bake
- Cuisine: American
Nutrition
- Serving Size: 1 slice (100g)
- Calories: 350
- Sugar: 18g
- Sodium: 250mg
- Fat: 24g
- Saturated Fat: 10g
- Unsaturated Fat: 12g
- Trans Fat: 0g
- Carbohydrates: 32g
- Fiber: 2g
- Protein: 6g
- Cholesterol: 30mg